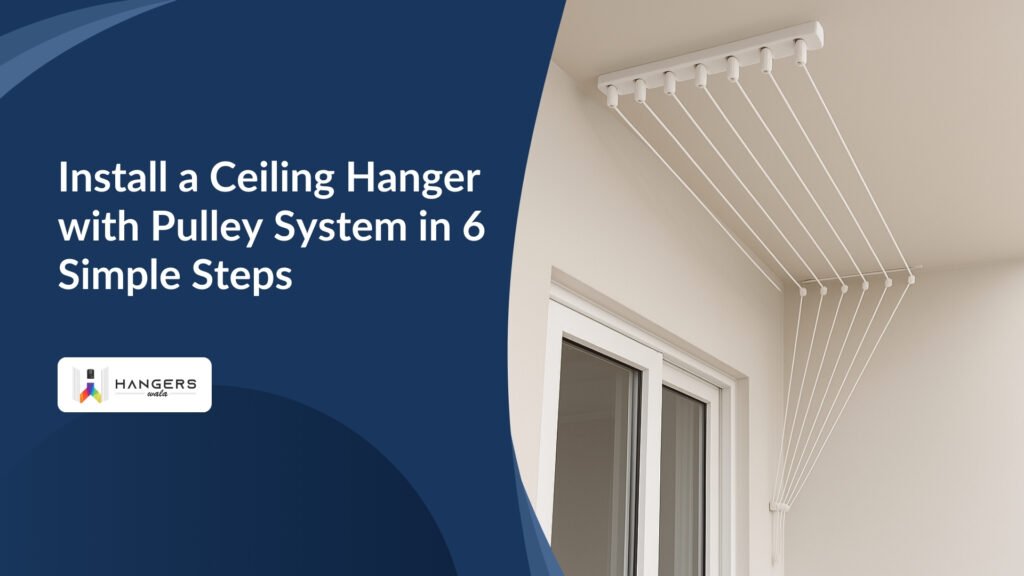
Install a Ceiling Hanger with Pulley System in 6 Simple Steps

A ceiling hanger with a pulley system is an excellent space-saving solution for drying clothes indoors. It allows you to conveniently lift and lower clothes without taking up extra floor space, making it perfect for apartments, balconies, and laundry rooms. Unlike traditional drying racks, a pulley-operated hanger keeps your clothes organized, improves air circulation, and prevents clutter.
Installing a pulley cloth hanger might seem complicated, but it’s actually a simple process that can be done with basic tools. Whether you’re setting it up for the first time or replacing an old drying system, follow these six easy steps to ensure a secure and hassle-free installation.
Step 1: Choose the Right Location
Selecting the right spot for your pulley ceiling hanger is crucial for easy operation and efficient drying. Consider the following factors:
- Good Airflow & Sunlight: Install the hanger in a balcony, laundry area, or near a window for faster drying.
- Sufficient Ceiling Height: Ensure the ceiling is high enough for proper lifting and lowering of clothes.
- Wall Clearance: Keep enough distance from walls to prevent clothes from touching and getting dirty.
- Easy Accessibility: Choose a spot where you can comfortably operate the pulley system without strain.
A well-chosen location makes drying convenient, efficient, and hassle-free!
Step 2: Mark the Drill Points
Properly marking the drill points ensures a balanced and stable pulley hanger installation. Follow these key steps:
- Measure the Distance: Use a measuring tape to determine the correct spacing between pulley brackets for even weight distribution.
- Ensure Proper Alignment: Mark the points in a straight line to prevent tilting or imbalance when the hanger is in use.
- Use a Pencil for Marking: Lightly mark the drill spots to avoid mistakes and adjust if needed before drilling.
- Double-Check Before Drilling: Verify the markings to ensure they match the hanger’s design and rope positioning.
Accurate markings help achieve a smooth and sturdy pulley system installation!
Step 3: Install the Pulley Brackets
Securing the pulley brackets properly is essential for a strong and durable installation. Follow these steps for a perfect setup:
- Drill at Marked Points: Use a drill machine to make holes at the marked spots on the ceiling.
- Insert Wall Plugs: Place sturdy wall plugs into the holes to ensure a firm grip for the screws.
- Fix the Pulley Brackets: Align the brackets properly and tighten them with strong screws for maximum support.
- Check Stability: Gently pull the brackets to ensure they are firmly fixed and can handle the hanger’s weight.
A well-installed pulley bracket ensures smooth and safe operation of your ceiling hanger!
Step 4: Attach the Ropes and Rods
Properly attaching the ropes and rods ensures smooth operation and long-lasting performance. Follow these simple steps:
- Thread the Ropes Through the Pulleys: Pass the nylon ropes through the pulleys, ensuring they move freely without friction.
- Attach the Ropes to the Rods: Securely tie or fasten the ropes to the hanger rods, making sure they are evenly balanced.
- Ensure Equal Rope Length: Adjust the ropes so that the rods remain level when lifted or lowered.
- Check for Smooth Movement: Pull the ropes a few times to ensure effortless lifting and lowering without tangling.
A well-secured rope and rod setup ensures easy operation and durability of your ceiling hanger!
Step 5: Fix the Rope Lock Mechanism
Installing the rope lock mechanism correctly ensures your hanger stays securely in place. Follow these simple steps:
- Choose a Convenient Spot: Fix the rope cleat or locking mechanism on a nearby wall at an easily reachable height.
- Secure the Lock Firmly: Use screws and wall plugs to tightly fix the lock, preventing any loosening over time.
- Thread the Ropes Properly: Pass the ropes through the lock mechanism, ensuring they hold the hanger firmly at different heights.
- Test the Locking System: Pull and secure the rope to check if the lock holds the hanger in place without slipping.
A well-installed rope lock mechanism ensures smooth, safe, and effortless use of your ceiling hanger!
Step 6: Test the Pulley System
Once the installation is complete, testing the pulley system ensures smooth and safe operation. Follow these steps:
- Lift and Lower the Hanger: Pull the ropes to check if the hanger moves effortlessly without resistance.
- Ensure Smooth Rope Movement: Make sure the ropes glide freely through the pulleys without tangling or friction.
- Check for Balance: The rods should remain level and stable when raised or lowered to avoid clothes slipping off.
- Test the Rope Lock Mechanism: Secure the hanger at different heights and ensure the lock holds firmly without slipping.
- Make Final Adjustments: If needed, tighten screws, align pulleys, or adjust rope tension for perfect functionality.
A properly tested pulley system guarantees long-lasting, hassle-free operation for daily use!
Conclusion
Installing a ceiling hanger with a pulley system is a simple yet effective way to save space and make drying clothes effortless. By following these six easy steps, you can set up a sturdy and efficient drying system in your home. From choosing the right location to testing the pulley system, each step ensures smooth operation and long-term durability.
A well-installed pulley cloth hanger not only keeps your home organized but also makes laundry hassle-free. With proper installation and maintenance, you can enjoy a convenient, space-saving, and user-friendly drying solution for years to come!
Get a High-Quality Ceiling Hanger Today – Easy to Install & Built to Last!
Reach Out Now!
Call: 63008 54322
